From Hong Kong Roast Duck to Liquid Gold: The Art of Making Roasted Duck Garum
There’s something magical about Hong Kong roast duck. That lacquered, mahogany-red skin. The succulent, flavour-packed meat. The aromatic five-spice and hoisin notes that make it to one of the world’s great culinary treasures.
Now imagine capturing all of that complexity – every roasted, savoury, caramelized molecule and compound – and transforming it into a liquid seasoning so potent that just a few drops can elevate any dish to new heights.
Welcome to the world of garum.
The Recipe: Hong Kong Roasted Duck Garum
Why This Works?
The success of this recipe lies in three key elements:
- Rice Koji – A culture of Aspergillus oryzae grown on rice, koji releases powerful enzymes that break down proteins into amino acids—including glutamic acid, the source of natural umami.
- Salt – It controls which microbes can thrive, creating a safe environment for enzymatic magic while preventing spoilage.
- Time & Temperature – A long, slow dance at precisely 60°C gives enzymes weeks and months to work their magic, transforming duck protein into liquid savoury gold.
Ingredients
|
Amount |
Ingredient |
|
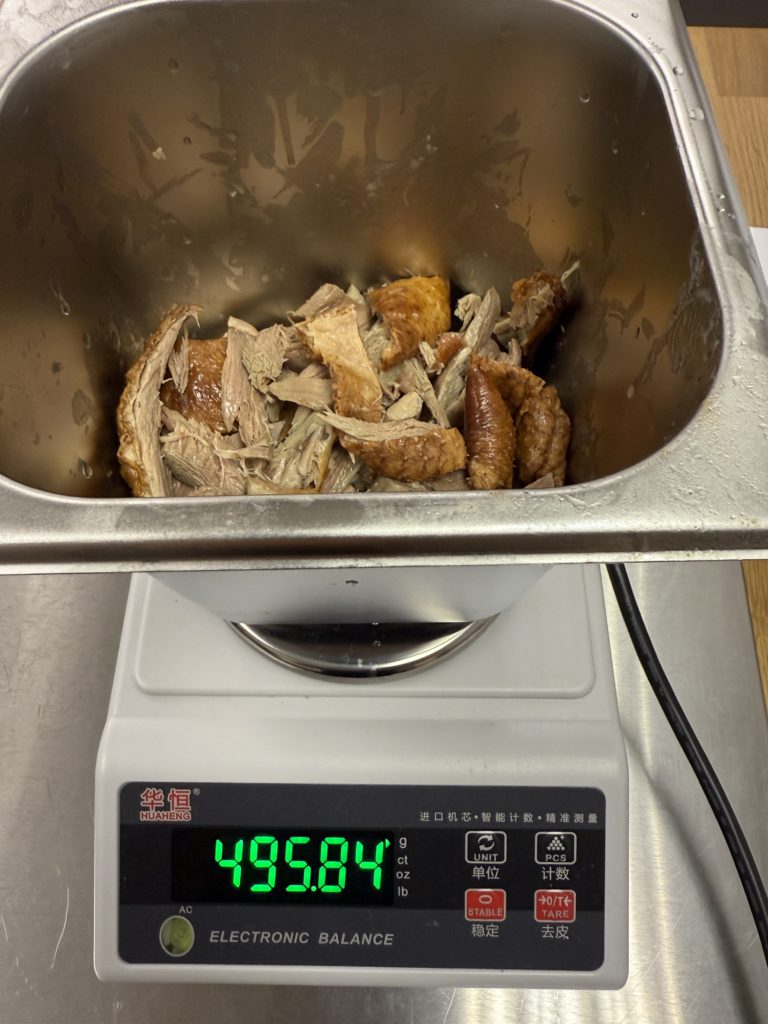
500g |
Deboned Hong Kong roast duck meat with skin (fresh from your favourite BBQ shop) |
|
400g |
Water |
|
120g |
Rice koji (fresh or dried—available at Asian grocers or online) |
|
120g |
Salt (non-iodized, please—iodine can inhibit fermentation) |
Equipment Needed
- High-speed blender
- Glass jar with wide mouth (at least 1-litre capacity)
- Plastic wrap
- Fermentation chamber or precision incubator
- Fine-mesh strainer or cheesecloth
- Funnel
- Glass bottle for storage
Method: A Step-by-Step Journey to Umami
Step 1: Source Your Duck
Visit your favourite Hong Kong BBQ joint and order a whole roast duck. Ask them not to chop it – you want the skin and meat intact for easy deboning. The quality of your starting ingredient directly impacts your final garum, so go to a shop you trust.
Step 2: Deboning
Once home, remove all meat and skin from the bones. Don’t discard the bones—they’re perfect for stock!
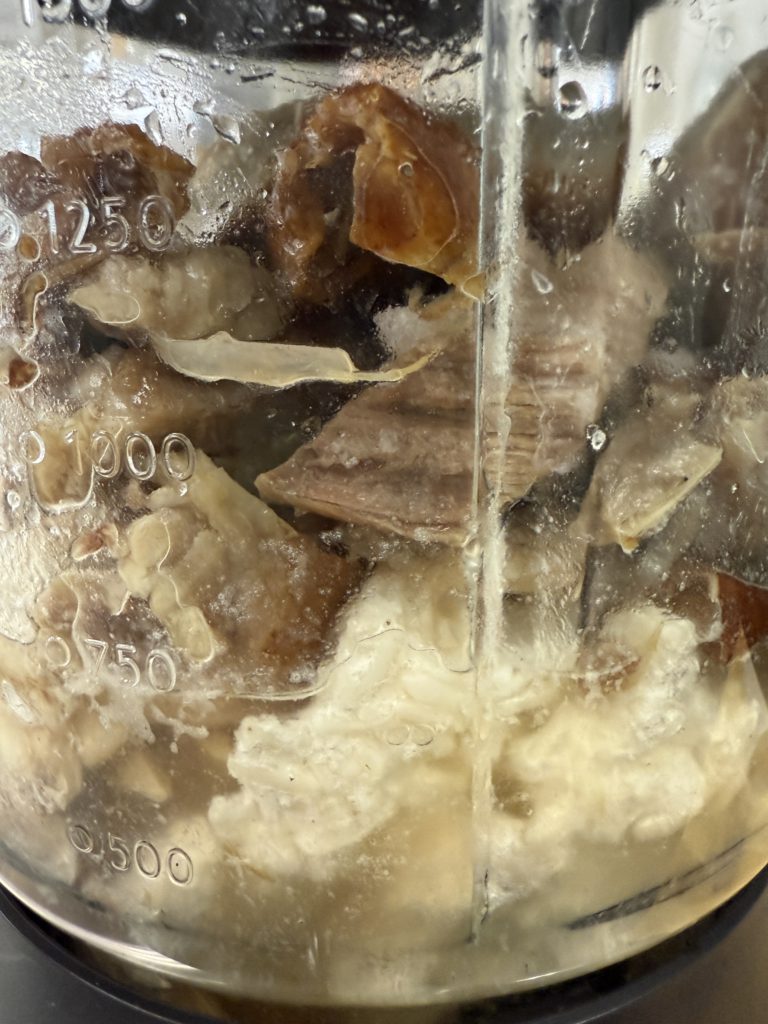
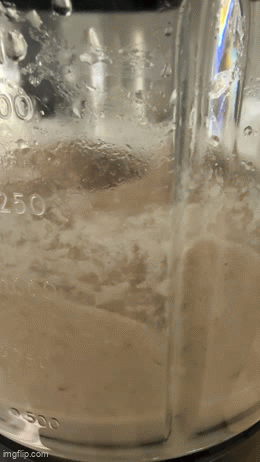
Step 3: The Blend
Place the duck meat and skin into your blender. Add water, rice koji, and salt. Now blend it.
You’re aiming for a smooth, homogeneous paste—like a thick milkshake or thin peanut butter. Everything must be incorporated because the enzymes need access to every bit of duck protein. If your blender struggles, add a touch more water, but remember: we’re targeting a final consistency that pours but isn’t watery.
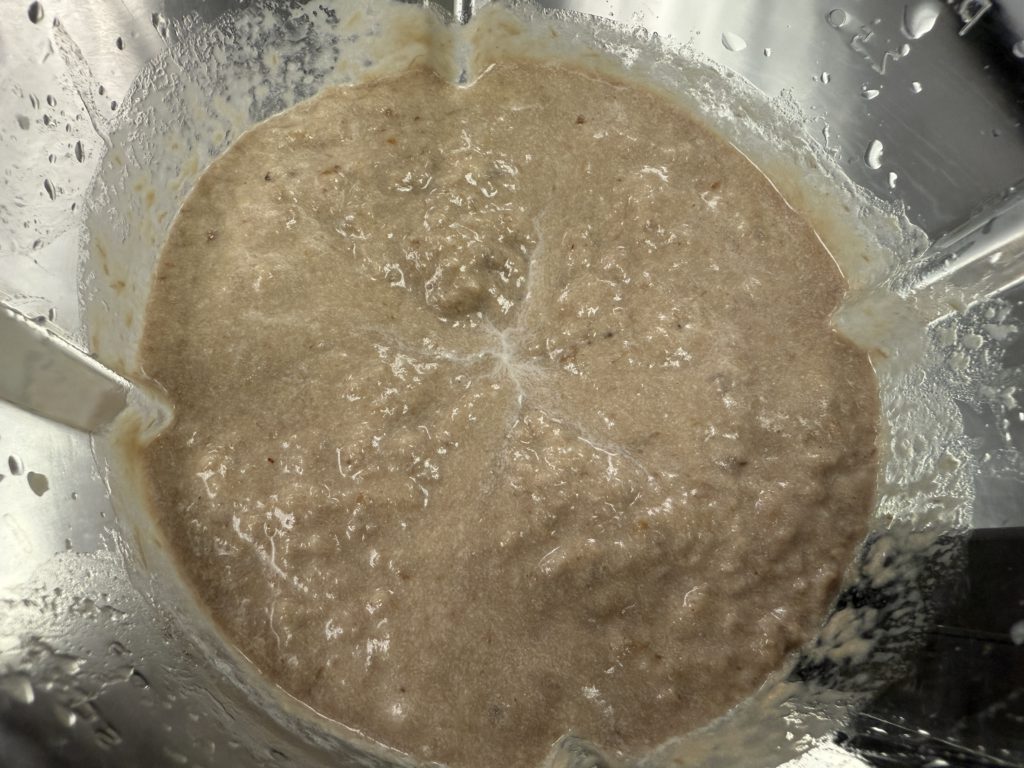
Step 4: Into the Jar
Pour your garum paste into a clean glass jar. Leave some headspace—this mixture might bubble and expand slightly during enzymatic reaction.
Here’s a crucial tip: cover the garum top with plastic wrap before closing the lid. Why? Because if your lid is not sealed, the liquid from the garum will evaporate away and because the salty, enzymatic environment will corrode metal lids over two months. Plastic wrap creates a protective barrier.
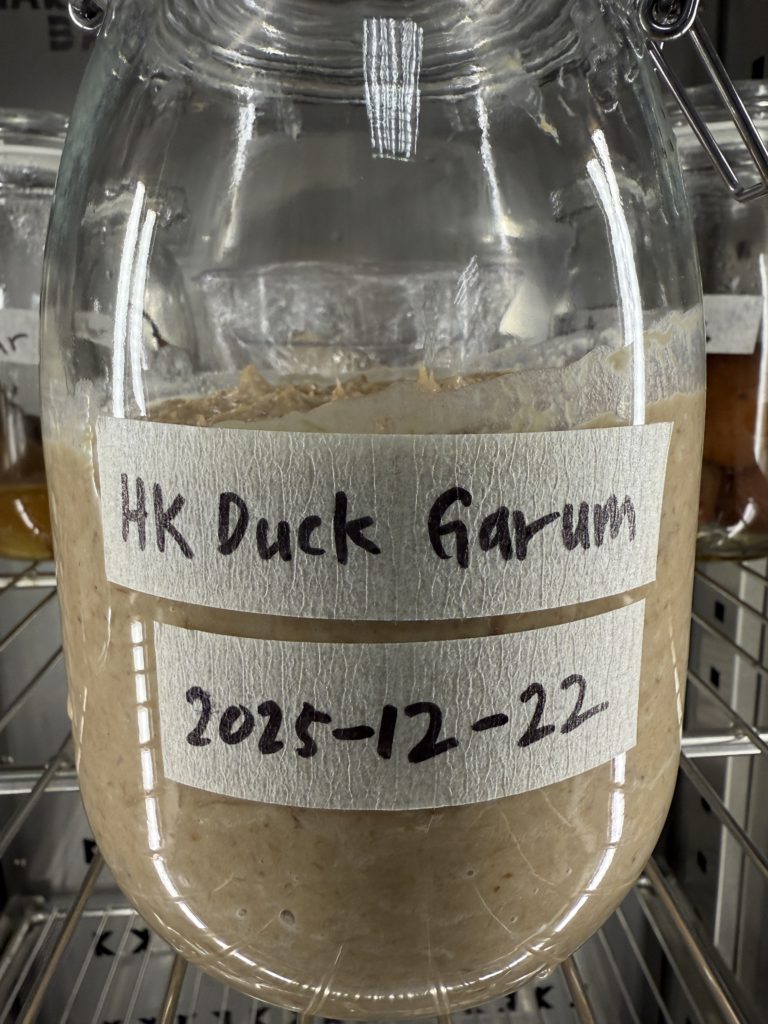
Step 5: The Long, Slow magic show
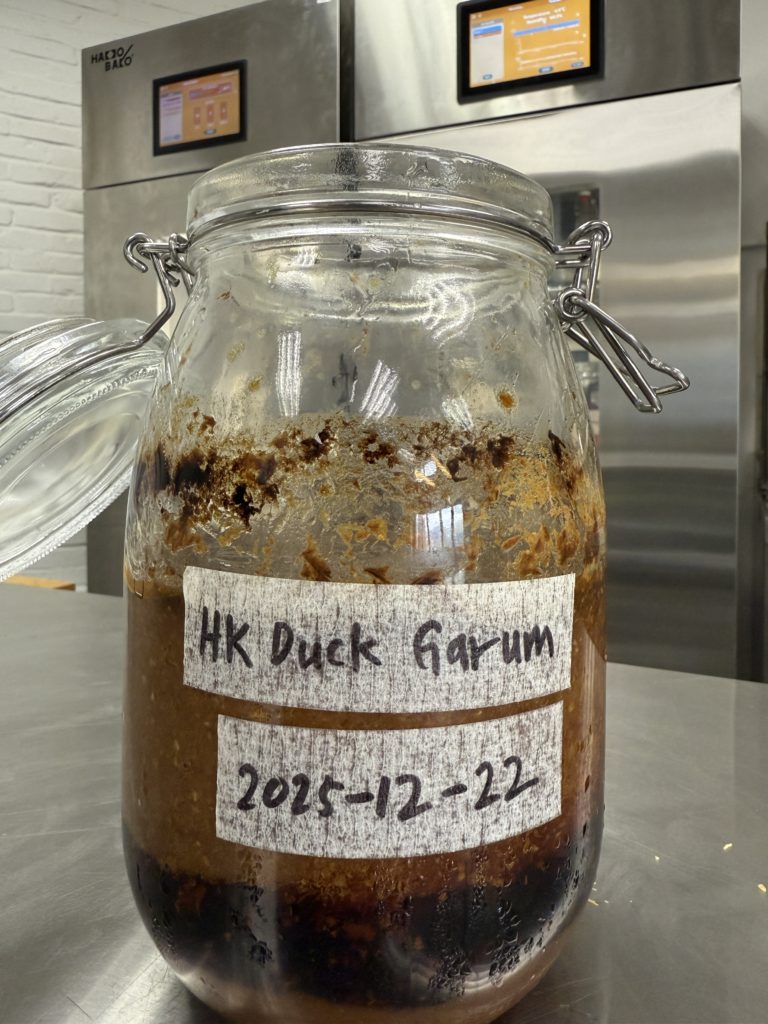
Place your jar into a fermentation chamber set to 60°C (140°F) for 2 months.
Yes, you read that correctly. This isn’t a weekend project—it’s a labour of love. But here’s what’s happening during those eight weeks:
Week 1-2: The koji awakens. Enzymes begin hydrolyzing proteins, breaking long chains into smaller peptides. You might notice the mixture darkening slightly. Make sure to mix the garum once in a while so that the enzymatic reaction is evenly distributed inside the jar.
Week 3-4: Proteolysis is in full swing. Proteins are now being broken down into individual amino acids—including glutamic acid. This is umami central. The colour deepens to amber. Mix the garum once or twice during this period. Check if there are any fats that rises to the top, skim if necessary.
Week 5-6: Maillard compounds from the roasted duck skin integrate with the developing amino acids. Complexity builds. The aroma shifts from “fermenting meat” to “intensely savoury.”
Week 7-8: Maturation. Flavours round out. The liquid separates from solids, creating a dark, clearish layer on top of sediment.
Step 6: The Chill
After two months, if your fermentation chamber allows automatic temperature change – have it set to 4°C (39°F), or place it into a fridge.
This sudden cooldown stops enzymatic activity. You’ve now preserved exactly the flavour profile you’ve developed—any longer at 60°C and you risk over-fermentation, which can degrade umami flavours and lead to bitterness.
Let it chill for at least 24 hours. This also helps fats solidify, making them easier to remove.
Step 7: Harvesting the Gold
Now for the moment of truth. You’ll have a jar containing:
- A dark amber liquid (your garum)
- A layer of fat – save this! It’s liquid gold for roasting potatoes
- Sediments (“garum mash” – save it and use it as shrimp paste (so called bagoong), stuffing or fillings, mix it with butter or to braises. The utilization is endless.
Line a fine-mesh strainer with cheesecloth and place it over a bowl. Gently pour the contents of your jar through.
What emerges is a liquid the colour of antique mahogany, with an aroma that defies description: intensely roasted, deeply savoury, slightly funky, utterly compelling.
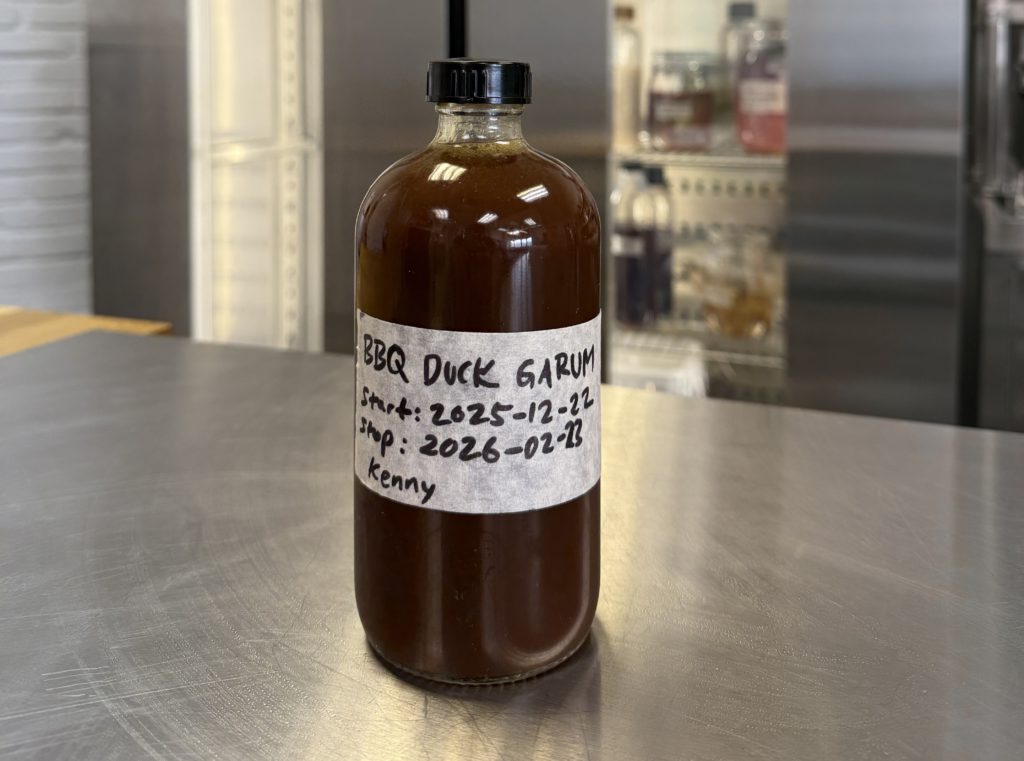
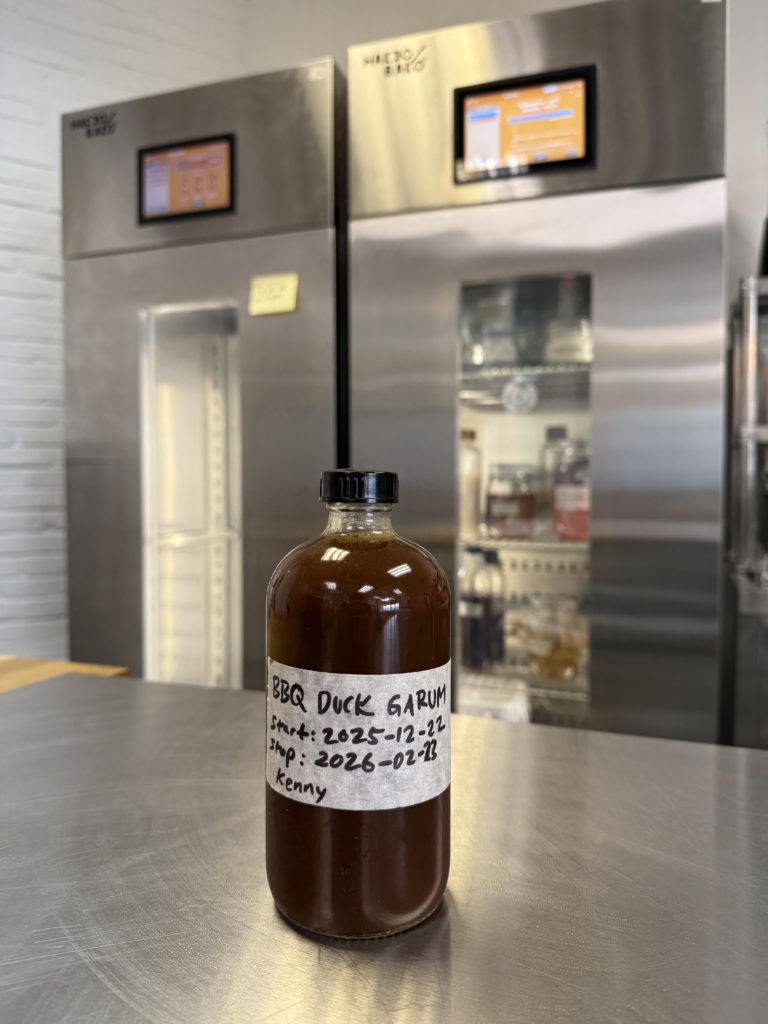
Step 8: Bottle and Store
Using a funnel, transfer your garum into dark glass bottles. Store in the refrigerator, where it will keep for 6-12 months.
How to Use Your Liquid Gold
This isn’t soy sauce. It’s more concentrated, more complex, more… everything. A little goes a long way.
As a Finishing Glaze
Brush it onto grilled meats in the last minute of cooking. The residual heat warms the garum, releasing its aromatics. Try it on:
- Steak (especially flank or skirt)
- Pork chops
- Grilled king oyster mushrooms
- Roasted cauliflower
In Marinades
Add a teaspoon to marinades for depth that salt alone can’t achieve. It’s particularly magical in:
- Char siu (Chinese BBQ pork)
- Beef short ribs
- Tofu or tempeh
In Dressings
Whisk a few drops into vinaigrettes. It adds umami without overpowering. Perfect for:
- Bitter greens (radicchio, endive)
- Tomato salads
- Grain bowls
As a Soup Enhancer
A tiny splash in ramen broth, congee, or clear soups adds instant complexity. Think of it as a savoury seasoning boost button.
The Ultimate Bloody Mary
Here’s a secret: a few drops of roasted duck garum in a Bloody Mary transforms it from brunch standard to transcendent experience. The savoury depth plays beautifully with tomato, vodka, and spice.
Troubleshooting & Tips
My garum smells off—how do I know if it’s spoiled?
Good garum smells intensely savoury, like concentrated roast duck with funky, cheesy undertones. Bad garum smells rotten, ammoniated, or putrid. Trust your nose. If it smells like something you wouldn’t eat, discard it.
Mold on the surface?
If you see fuzzy mold (not just kahm yeast, which is harmless), skim it immediately. If it returns or penetrates deeply, discard the batch. Proper salt concentration (around 12-15% of total weight) should prevent most spoilage.
Can I scale this recipe?
Absolutely. Just maintain the ratios: roughly 1 part duck, 0.8 parts water, 0.25 parts koji, 0.25 parts salt by weight.
The Science Behind the Magic
For the curious minds, here’s what’s happening chemically:
Koji produces several enzymes, but the star of this show is protease. These enzymes act like molecular scissors, snipping long protein chains into:
- Polypeptides (medium chains)
- Peptides (short chains)
- Amino acids (individual building blocks)
Glutamic acid the amino acid responsible for umami is liberated in abundance. Meanwhile, salt does double duty: it inhibits unwanted bacteria while allowing desirable enzymatic activity to flourish.
The 60°C temperature is the sweet spot: warm enough to accelerate enzymatic activity, but not so hot that you cook (and denature) the enzymes themselves.